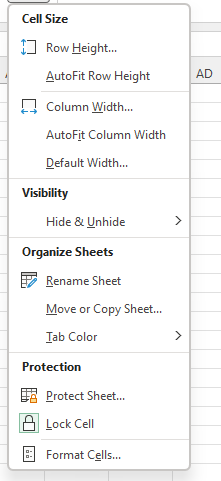
In the continuing mis-named Cells section of the home menu is the Format drop down, that contains the Protection Section where you can Protect Sheet… or Lock Cell. Shortcut keys: Alt, H, O then P or L.
Locking a cell only has an effect once you Protect the Sheet. By default cells are Locked. The Lock Cell option here is actually a toggle and will unlock a locked cell, and lock an unlocked cell. The background change shows you which you will do be clicking on it. If the cell is currently locked the option will show with the green background, so clicking will unlock the cell.
When you Protect the sheet you can’t change a locked cell.
When you select Protect Sheet, you actually get a large number of options about how many things you want to restrict. The default is too allow Locked cells and unlocked cells to be selected. Remember locked cells won’t be able to be changed but unlocked cells will be. If you untick Select locked cells you won’t even be able to click on those cells.
You can provide a password that would need to be entered to Unprotect the sheet. Don’t lose the password, there is no easy recovery if you do. However, don’t rely on a password to keep information secure. Protecting the sheet doesn’t encrypt information and passwords can be got around.
Depending on what you want the user of the sheet to be able to do, tick the required options and select Ok.
You can also Protect the Sheet from the Review Menu and lock and unlock cells from the Format Cells… box.
Use the Protection Section next time you need to send a spreadsheet to someone! It is not super secure, even with a password, but will stop accidental changes.