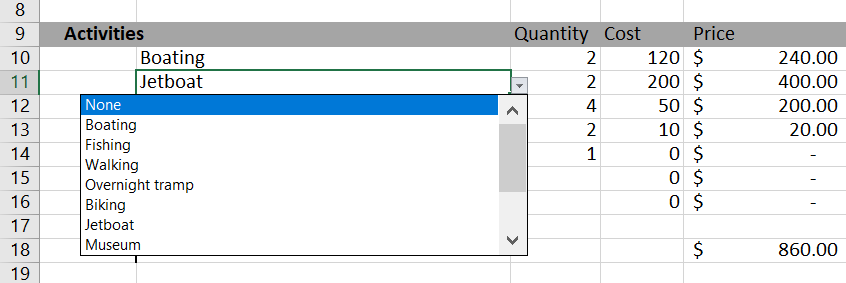
Using data validation in Excel means you can put restrictions on what can be entered into the cell, increasing accuracy. There are a lot of different options and settings within the data validation area. Here we have a drop down list of choices that the user can select from. You could also require the data to be a date, or a number, or just pop up a warning if the information entered is outside of set parameters. Data validation is a must if you are sharing your spreadsheet with others and you require them to enter information.
You will find Data Validation in the Data menu, in the Data Tools section. Shortcut keys Alt, A, V, V.

Once you have opened the input box, there are three tabs. The first tab allows you to set the type of information you will allow.
The second tab gives you the option to give the user information to help them with their input.
The last tab determines what happens if the information that is input doesn’t fit the criteria you have set. A “Stop” will mean that the user is prompted to enter correct information and will not be allowed to enter any value that doesn’t meet the criteria.
A “Warning” will mean that the user is given the option of allowing their input or rejecting it.
The “Information” type will inform the user that the input doesn’t match.